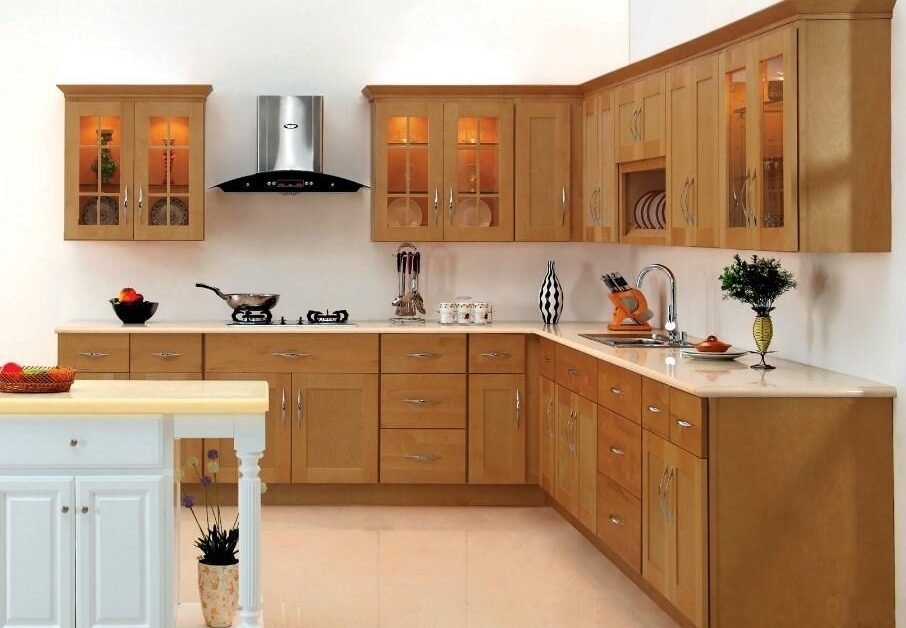
Kitchen Cupboard Paint Before and After: Transform Your Space on a Budget

Tired of walking into a kitchen that feels outdated and uninspiring? You’re not alone. Kitchens are often the heart of a home and giving yours a facelift doesn’t have to drain your savings. Painting your kitchen cupboards is a transformative, budget-friendly solution that can completely change the look and feel of your space. In this guide, we’ll dive into everything you need to know about kitchen cupboard paint before and after transformations from preparation to execution and even maintenance.
Why Painting Your Kitchen Cupboards Is Worth It
Affordable Transformation
Replacing kitchen cupboards can cost thousands of dollars but painting them offers an equally dramatic transformation for a fraction of the cost. On average a DIY kitchen cupboard painting project can cost as little as $200–$500 depending on the size of your kitchen and the materials you use. Compare that to a full cabinet replacement which can easily exceed $10,000.
Example: A homeowner in California revamped their 15-cabinet kitchen with $250 worth of paint, primer, and supplies. The finished look rivaled custom cabinetry that would’ve cost upwards of $8,000.
Sustainable Choice
Instead of discarding old cupboards painting gives them a second life. This reduces waste and supports eco-friendly practices. Plus reusing materials is a step toward sustainable living a trend many homeowners embrace today.
Personalization at Its Best
Painting gives you unlimited freedom to customize. Whether you prefer classic white, modern gray or bold navy, the choice is yours. Popular finishes like matte, gloss or satin can enhance the look even further. Two-tone kitchens like dark lower cupboards paired with light uppers are also trending and add a sophisticated touch.
Preparing for the Transformation
Evaluate Your Cupboards
Not all cupboards are ideal candidates for painting. Inspect for damage like cracks, peeling veneer or warping. If the cabinets are in good structural condition, you’re good to go. Materials like solid wood, MDF and even laminate can often be painted successfully as long as you prep them properly.
Gather Your Materials
Here’s a list of everything you’ll need:
| Item | Purpose |
|---|---|
| Sandpaper (120-220 grit) | Smooths surfaces for paint adhesion |
| Degreaser or TSP | Cleans grease and grime |
| Painter’s tape | Protects edges and hardware |
| Primer | Ensures durability and smoothness |
| Paint (latex or oil-based) | Adds color and protection |
| Brushes, rollers, or sprayers | Applies paint evenly |
| Drop cloths | Protects floors and countertops |
Clean and Sand
One of the most important steps in a kitchen cupboard paint before and after project is cleaning. Kitchens are prone to grease and grime buildup which can prevent paint from sticking. Use a strong degreaser or TSP (trisodium phosphate) to thoroughly clean every surface. After cleaning sand the surfaces lightly to remove gloss and roughen them for better primer adhesion.
Remove Hardware
Take off all cupboard doors, drawers and hardware (handles, knobs, hinges). Label each piece with painter’s tape to ensure you can reassemble everything correctly. This step not only makes painting easier but also ensures a professional-looking finish.
The Step by Step Painting Process
Priming for Success
Primer is essential for a long lasting flawless finish. It helps paint adhere better and prevents stains or wood tannins from bleeding through. Use a high quality primer like Kilz or Zinsser applying it in thin, even coats. Allow the primer to dry completely before moving to the next step.
Painting Techniques
There are three common ways to paint cupboards:
- Brush: Ideal for small areas or intricate details.
- Roller: Best for flat surfaces providing smooth coverage.
- Sprayer: Offers a professional finish but requires careful setup.
Pro Tip: Apply paint in thin coats, letting each coat dry fully before adding the next. This prevents drips and ensures even coverage.
For trendy finishes, consider:
- Matte for a modern look
- Glossy for easy cleaning
- Satin for a soft, classic appearance
Finishing Touches
Once the paint is dry apply a clear topcoat for extra durability. This step is particularly important in kitchens where surfaces are exposed to moisture and frequent cleaning. Reattach the hardware, reinstall doors and drawer and step back to admire your work!
Inspiring Before and After Transformations
Few things are as satisfying as seeing a kitchen cupboard paint before and after transformation. Here are some real life examples to spark your creativity:
Brightening Up Dark Wood
Before: Dull, outdated oak cabinets with heavy grain.
After: Fresh white paint paired with sleek black hardware creates a bright modern kitchen.
Adding Drama with Bold Colors
Before: Neutral beige cupboards that felt lackluster.
After: Deep navy cabinets with brass accents deliver a sophisticated and dramatic aesthetic.
Embracing Two-Tone Trends
Before: All cabinets in one outdated color.
After: Upper cupboards painted in soft gray and lower ones in charcoal gray give a balanced stylish appearance.
Common Mistakes to Avoid
- Skipping Preparation: Failing to clean or sand can lead to peeling paint.
- Choosing the Wrong Paint: Latex paint works best for most kitchens but oil based paint may be better for high traffic areas.
- Rushing the Process: Allow adequate drying time between coats to avoid smudging or streaks.
Maintenance Tips for Painted Cupboards
- Clean Gently: Use mild soap and a soft cloth to wipe down surfaces. Avoid harsh cleaners that can strip the paint.
- Prevent Scratches: Place protective pads inside cupboards to prevent pots and pans from damaging painted surfaces.
- Touch Up When Needed: Keep extra paint for quick fixes on chips or scratches.
Budget Breakdown
| Expense | Cost Estimate |
|---|---|
| Paint (1-2 gallons) | $50–$100 |
| Primer (1 gallon) | $20–$40 |
| Tools (brushes, tape, etc.) | $30–$50 |
| Optional: Sprayer Rental | $50–$100 |
Conclusion
Transforming your kitchen doesn’t have to mean a full remodel. With a little elbow grease, some quality paint and the right techniques you can achieve a stunning kitchen cupboard paint before and after makeover that rivals high-end renovations. Whether you’re going for timeless white, bold navy or something uniquely yours the possibilities are endless.
Read Also: How Absence Management Improves Organizational Culture?


