Old Fashioned Peanut Butter Chocolate Frosting Using Hot Chocolate Mix
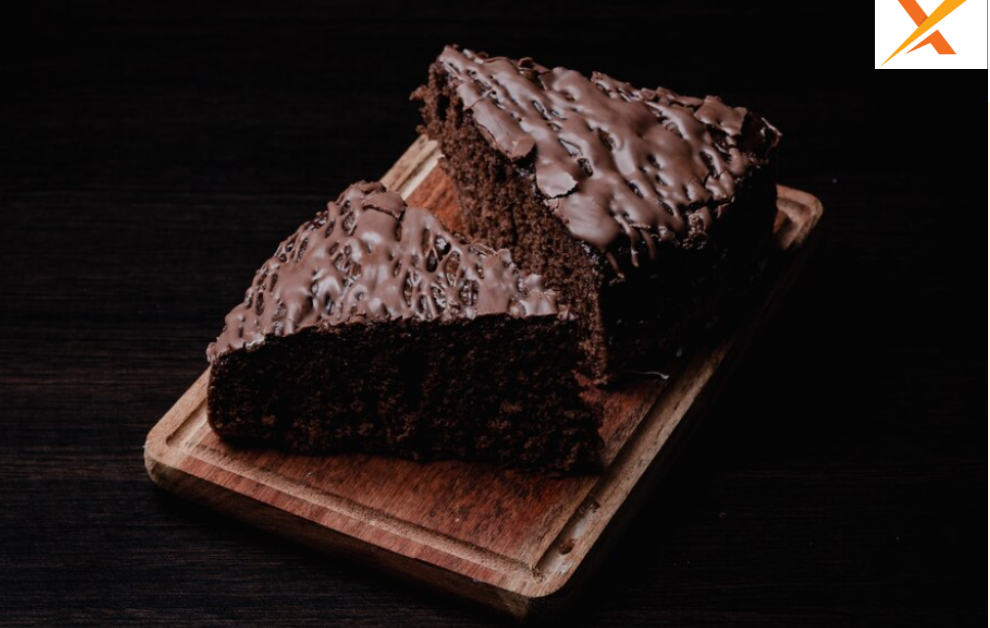
There’s something undeniably charming about a rich, creamy, old-fashioned peanut butter chocolate frosting that takes you back to childhood. But what if you could create that nostalgic flavor with a twist using hot chocolate mix?
This modern method not only simplifies the process but also ensures a deeply chocolatey satisfyingly sweet result that’s perfect for any dessert. This guide dives deep into creating the ultimate peanut butter chocolate frosting, ideal for cakes, cupcakes, brownies and even as a delicious dip.
Ingredients Needed

To create a luscious chocolate and peanut butter icing with the best flavor and consistency. Here’s a breakdown of each ingredient and its role in the recipe:
| Ingredient | Quantity | Purpose |
|---|---|---|
| Peanut Butter | 1/2 cup | Adds creaminess and nutty depth |
| Hot Chocolate Mix | 1/2 cup | Provides chocolate flavor and sweetens the frosting |
| Butter | 1/2 cup (1 stick) | Acts as the base for a creamy, spreadable texture |
| Powdered Sugar | 2 cups | Sweetens and thickens the frosting for perfect consistency |
| Vanilla Extract | 1 tsp | Adds depth and rounds out the flavors |
| Milk or Cream | 1-2 tbsp | Adjusts consistency making it smoother or richer |
Why Hot Chocolate Mix?
Using hot chocolate mix instead of cocoa powder or melted chocolate creates a smoother more cohesive frosting. It also allows for variation with different hot chocolate flavors (dark chocolate, peppermint etc.) that would be difficult to replicate with cocoa powder alone. This is especially useful when looking for a recipe for chocolate frosting without powdered sugar as the hot chocolate mix compensates for both sweetness and chocolate flavor.
Tools and Equipment
To make this frosting with ease gather the following tools:
- Electric Mixer: For the smoothest fluffiest frosting use a stand or hand mixer.
- Mixing Bowls: Use a large bowl for mixing ingredients without splattering.
- Spatula: Essential for scraping the sides of the bowl and transferring frosting.
- Measuring Cups and Spoons: Precision is key for this frosting to achieve the right consistency.
- Airtight Container: Ideal for storing any leftover frosting.
Step by Step Recipe Instructions
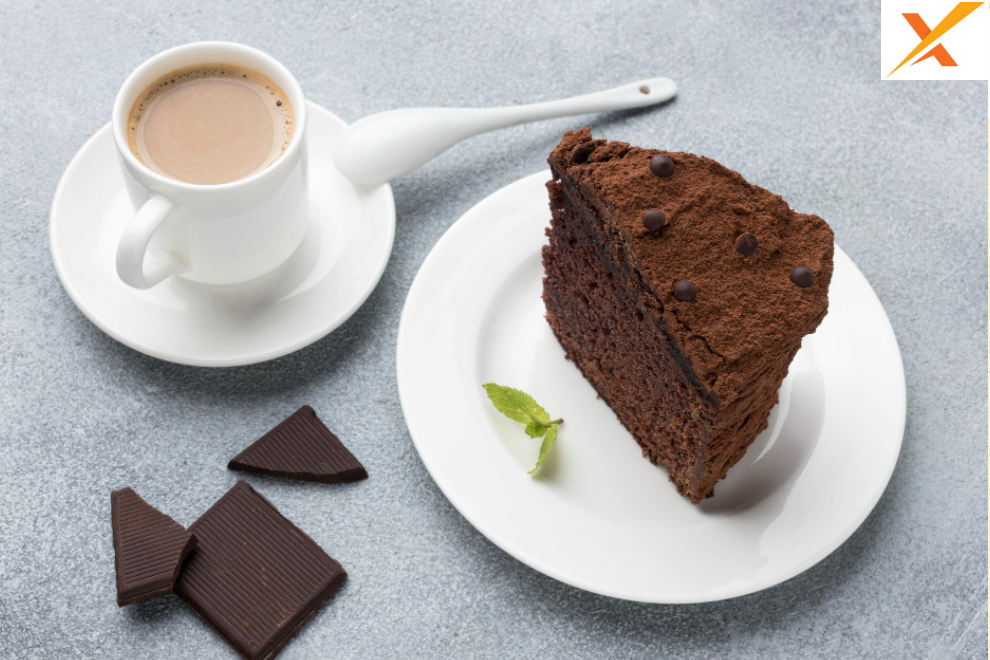
Follow these steps carefully to achieve the perfect consistency and flavor.
Step 1: Prepare Ingredients
Make sure all ingredients are at room temperature. Cold butter or peanut butter can result in a grainy frosting while room temperature ingredients blend together smoothly.
Step 2: Cream Butter and Peanut Butter
- Add the butter and peanut butter to your mixing bowl.
- Using a mixer, beat until the mixture is light and fluffy. This takes about 2-3 minutes.
- This creaming step creates the smooth foundation for your frosting helping it to be spreadable without being too heavy.
Pro Tip: If you prefer a chunky texture opt for crunchy peanut butter. However, creamy peanut butter typically produces the smoothest result.
Step 3: Add Hot Chocolate Mix and Vanilla
- Add the hot chocolate mix and vanilla extract then beat again until fully incorporated.
- The hot chocolate mix will dissolve into the butter and peanut butter, creating a light, chocolatey base.
- If you’re experimenting with flavored hot chocolate (like peppermint or salted caramel), this is the stage to add it.
Step 4: Gradually Add Powdered Sugar
- Add the powdered sugar one cup at a time, beating thoroughly between each addition.
- This ensures the frosting remains smooth and prevents lumps.
- Taste after adding each cup to control the sweetness level.
Alternative for Powdered Sugar: If you’re interested in trying a chocolate icing without powdered sugar consider substituting with a combination of regular sugar and cornstarch, blended to a fine powder.
Step 5: Adjust Consistency with Milk or Cream
- If your frosting feels too thick, add milk or cream, one tablespoon at a time until it reaches your desired consistency.
- For a thicker frosting, skip the milk altogether. For a smoother, more spreadable texture, opt for cream.
Quick Tip: If you accidentally make the frosting too runny, simply add more powdered sugar a little at a time.
Creative Uses for the Frosting
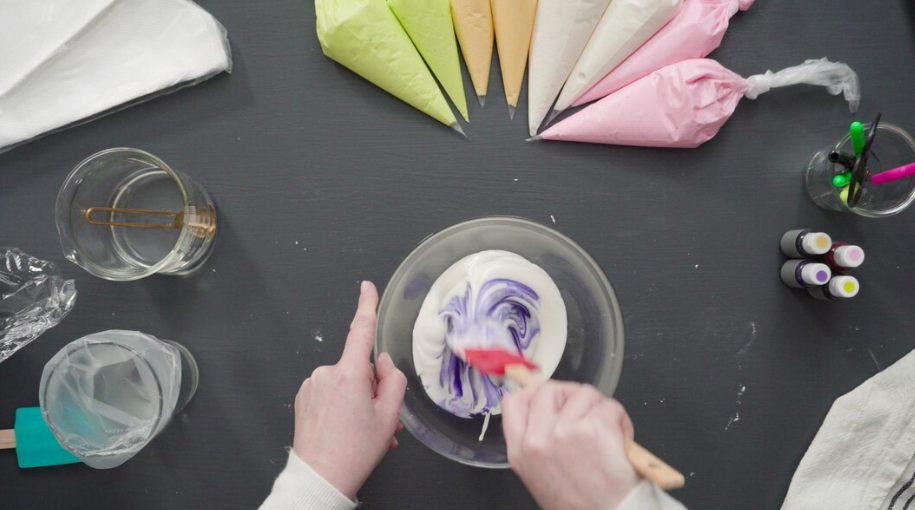
This versatile frosting is perfect for cakes, cupcakes, brownies and more. Here are a few unique ideas:
- Classic Pairings:
- Frosting chocolate or vanilla cupcakes.
- Spreading on top of brownies for a rich chocolatey layer.
- Unique Ideas:
- Use as a filling between two cookies for a homemade peanut butter cup sandwich.
- Pipe onto sugar cookies for a quick treat.
- Serve as a dip with pretzels, graham crackers or apple slices.
Storage and Shelf Life
Proper storage will keep your frosting fresh for multiple uses.
Refrigerator Storage
- Store frosting in an airtight container in the refrigerator.
- It will last up to one week if refrigerated.
- To use, bring it to room temperature and give it a quick stir before spreading.
Freezer Storage
- For longer storage, freeze the frosting in an airtight container.
- It can be frozen for up to three months. Thaw it in the refrigerator overnight then bring it to room temperature and rewhip if needed.
Leftover Uses
- If you have extra frosting, try using it as a pancake topping, spread it on toast or use it as a dessert dip.
Final Thoughts
This old-fashioned peanut butter chocolate frosting using hot chocolate mix is a true crowd-pleaser. With its rich nostalgic flavor and simple ingredients. It’s a perfect choice for both classic and innovative desserts. Whether you’re frosting a birthday cake, filling cookies or just treating yourself to a spoonful, this frosting is a must-try. Experiment with flavors adjust the sweetness to your liking and make it your own.
FAQ’s
Can I Use Natural Peanut Butter?
Yes, but it may affect the texture since natural peanut butter has a different oil content. If you choose to use natural peanut butter consider reducing the butter slightly to avoid a runny consistency.
What if I Don’t Have Hot Chocolate Mix?
No problem! For a similar chocolate flavor, try blending 2 tablespoons of cocoa powder with 1-2 tablespoons of sugar as a substitute.
How Can I Make This Dairy-Free?
Replace the butter with dairy-free margarine and the milk with a plant-based alternative like almond or coconut milk. The result is just as creamy and delicious.
Read Also: Occult Editorial Fashion

